Wednesday, April 29, 2015

Plamo Mechanical Pencil?

Hello!
Alright, simple and straightforward, reviewing of the Plamo Mechanical Pencil!

Once opened, the instruction manual on top, and the runners placed nicely with a paper as divider
Right, only 2 Runners and the metal parts for the pencil
Complicated Instruction..
Surprisingly, it was Made in Japan! Not been biased, but we know Made in Japan stuff are much higher quality, like our Gunpla
Basically it was just a 3D puzzle kit
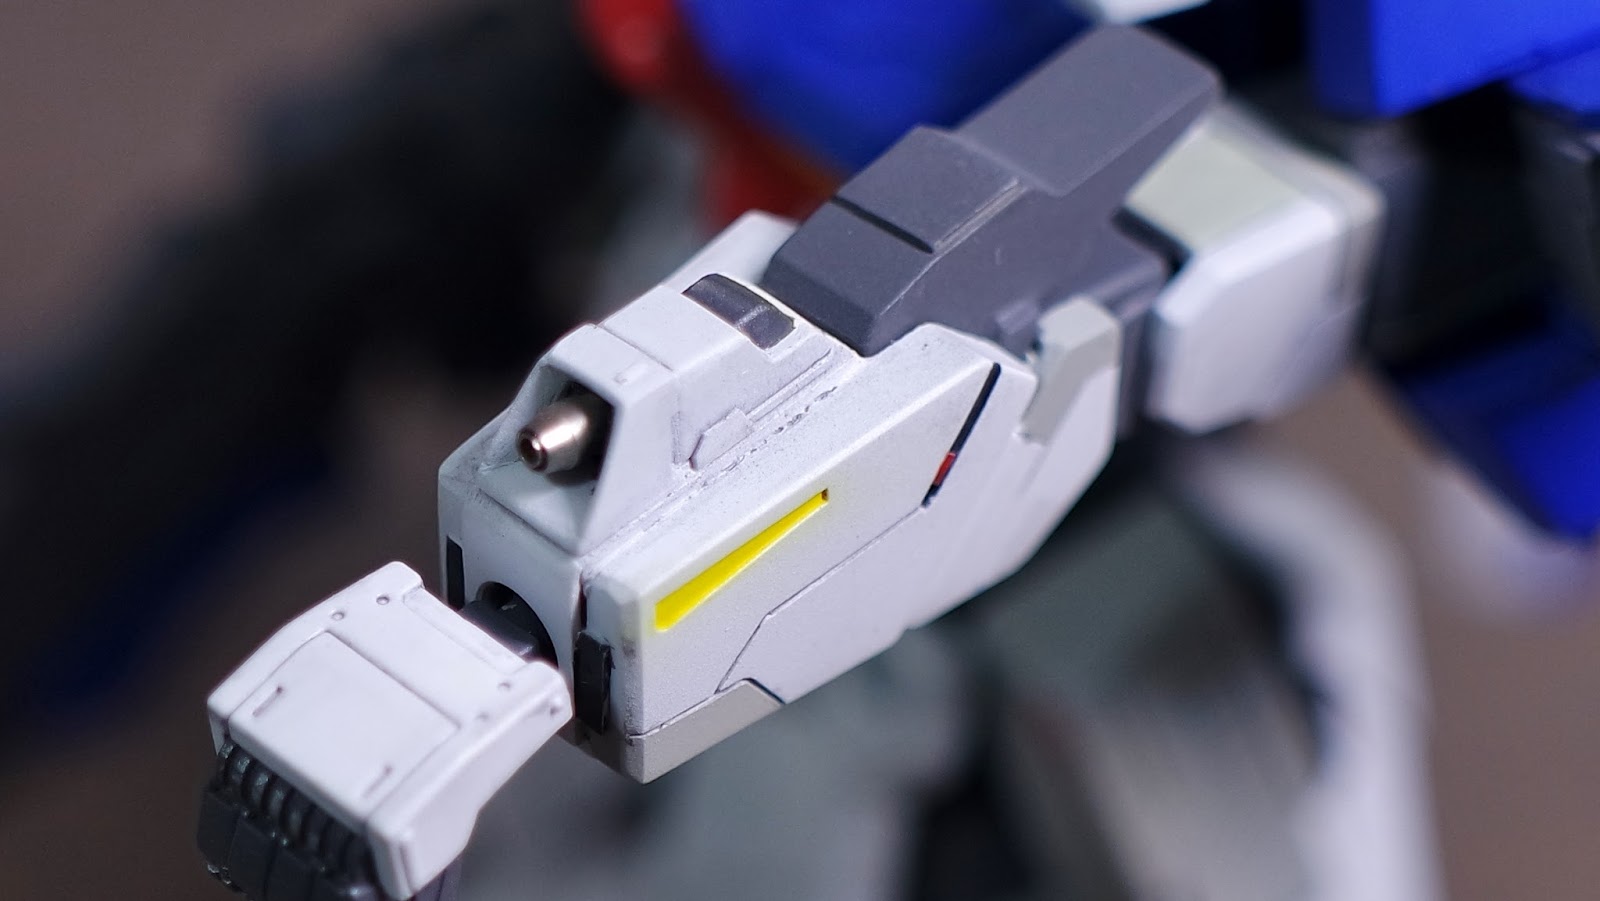
Complete
Though it was meant for writing (Obviously), it can't really write well actually.
Reason - if too much force is applied, it will just fail, break into pieces. Gluing the pieces is required if going to use it as a normal stationary.

Alright, so this is all about it. 

Saturday, April 25, 2015

FIRST PERFECT GRADE

Hello!
Whoo. Finally Completed my First Perfect Grade!

---Totally Underestimated PG... Thought I could finish it in days, but in the end spent weeks to finish it.
Of course, with all the basics done. (gate marks sanded and parting lines removed)

Alright, next model here I come! 

Monday, April 20, 2015

NEW TOOL Review

Hello!
Leaving Greeting aside, lets go straight into the review!

This is my new precision file, by GSI Creos.
Different from all other files, there is no cutting edges on the angled side

Alright, let's try how the effect on Gunpla.
Before.
After
From the photo, we could see that the gate mark had sanded flat and smooth
However, from what I felt during the sanding, this file isn't suitable for normal gate mark that we are sanding. It is more suitable for those very precised minor sanding. 
--------------------------------------

From what's on the box, it says that it is able to prevent the sanding dust from flying every where. 
Front
Rear. It has a guiding line for cutting and removing the cover.
Disappointed from what I expected, because the whole product is just a thick sectional of a cardboard. I thought it's something like sticking pad that could traps all the sanding dust..
Then it has a yellow cardboard for covering.

So, that's all for these 2 new tools on the working desk.
Packing and rearranging all my loot from JP, and will be back for modelling!

Sunday, April 19, 2015

Went & Return.

Hello World!
I had not update this blog for almost 2 weeks.. ?
Reason = I went to JP for 2 weeks Holidays!!

I apologize that I didn't mention anything about the trip before, and not update about it during the trip.

Anyway Anyway, Sightseeing, Shopping, Playing, in JP,
I'm now back in SG again, arrived just this morning..
------------------------------------------
Alright, will be just showing what I bought there. (of course this isn't all)

Some Painting Tools..
Sanding Tools
Empty Sphere Bottle and micro powder for metallic/[pearl painting.
Wire for RopeWork.
Not forgetting the limited goods.. Two introducing books.
Clear Files and Post Cards..
All the Gunpla I bought. 
DIY your own Mechanical pencil!! Found it interesting.
This seems like a tools that is able to catch the plastic dust during sanding..
Review coming.
HANAYAMATA Enoden Train!

Of course, with many other Local Souvenirs and Anime Goods!!
Alright, I will end this post here. Review of some of the tools maybe updating tmr!

Thursday, April 2, 2015

HGBF LIGHTNING GUNDAM

~HGBF ライトニングガンダム~
  • Sixteen Airbrushed

A project thats drags for months..
Finally, it's completed!

Honestly, this is not my very satisfied work..
BUT, it is a very important project in my process. In this project, I have finally got the hang of scribbling a nice and clean panel lines. (In the second half)
If you are able to spot, there are actually a mix of messy and clean panel lines on this kit.
Obvious, messy lines = starting of project and clean lines = ending of project

In my older builds, most of the scribed panel lines are not clean and straight. And the depth of the lines are not constant; they are quite deep too.

In this project, I learnt that the depth of the panel lines does not require that deep. Addition, I also learnt the technique of scribing a clean line = where only gentle force is required, but maintaining my hand straight during scribing.

Of course, although this have been said in many others' tutorials, it is actually quite difficult to get it right. 
------------------------------------------

After Work Photos.


I had replaced most the 3mm holes with Neon Magnets, those not in use covered.
Simple metal thrusters at the legs, and metal barrels for the head vulcan and hand vulcan.

Alright basically these all, thanks for your time.

~HGBF ライトニングガンダム~