
~YSX-24RD/NE ゼルフィカール/NE~
- Tenth Airbrushed Plamo.
- First Frame Arms Plamo!!!
Let's start with the most unique feature of Frame Arms, the Frame Architect Type-001. All Frame Arms, whether is it transformable or not, are using the same Frame.


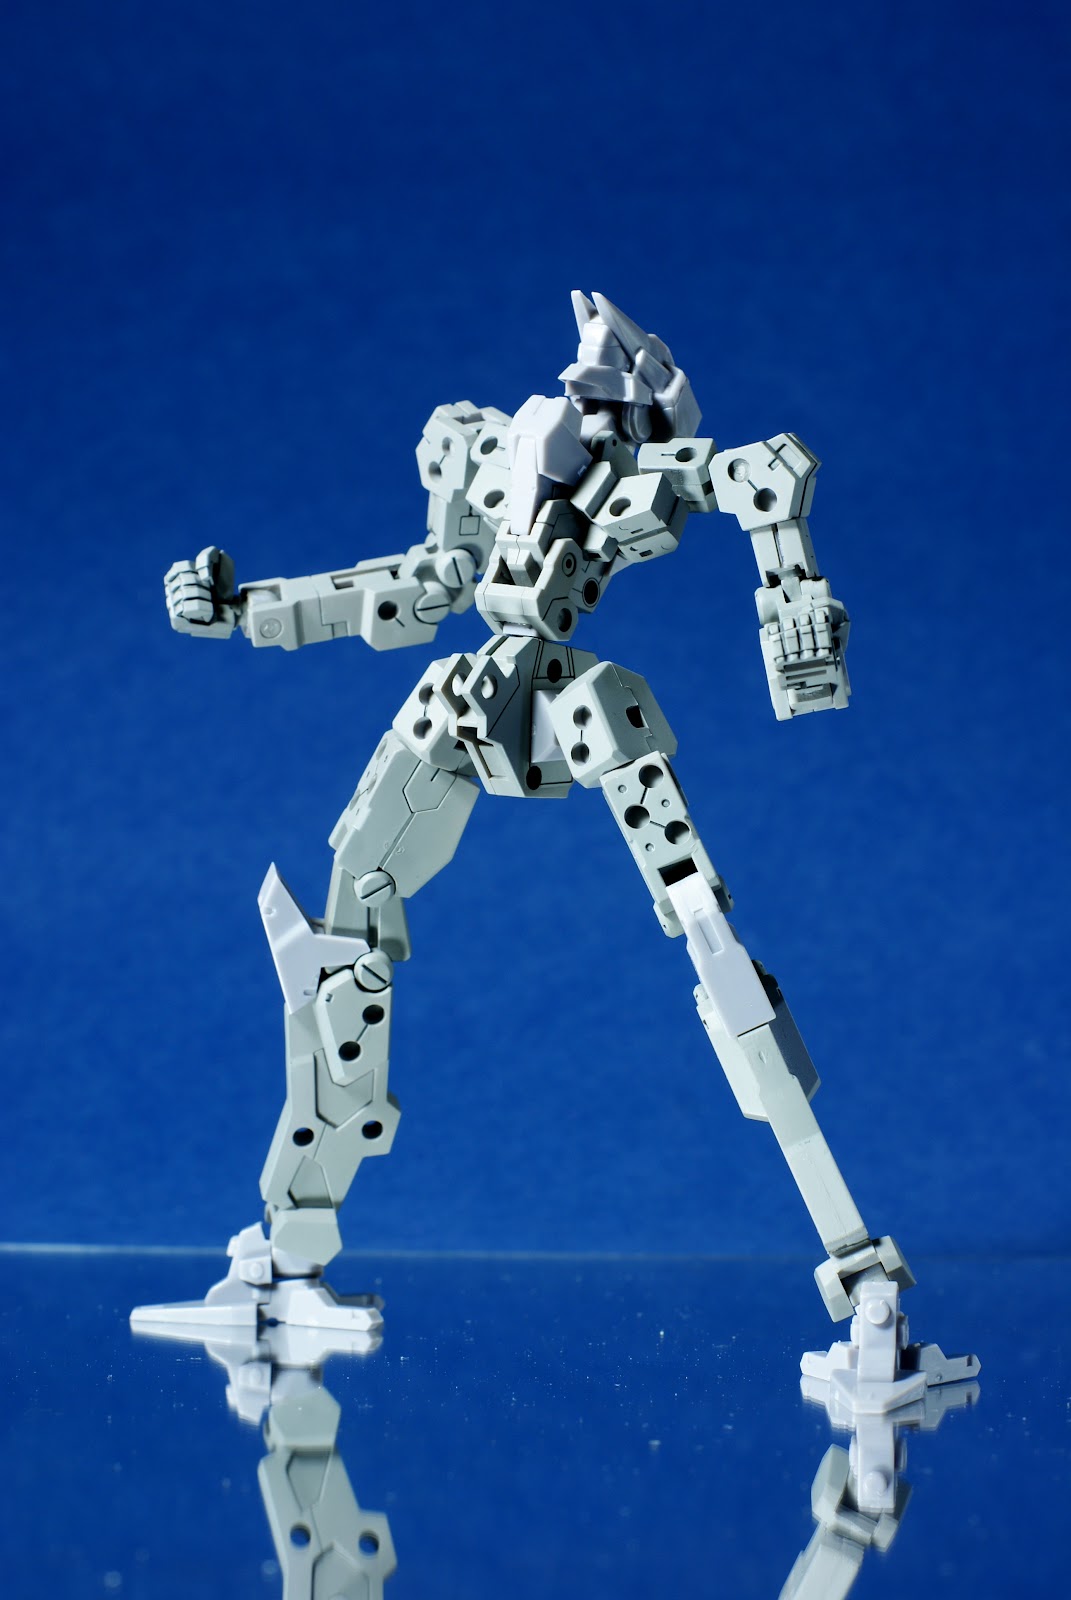
Front View

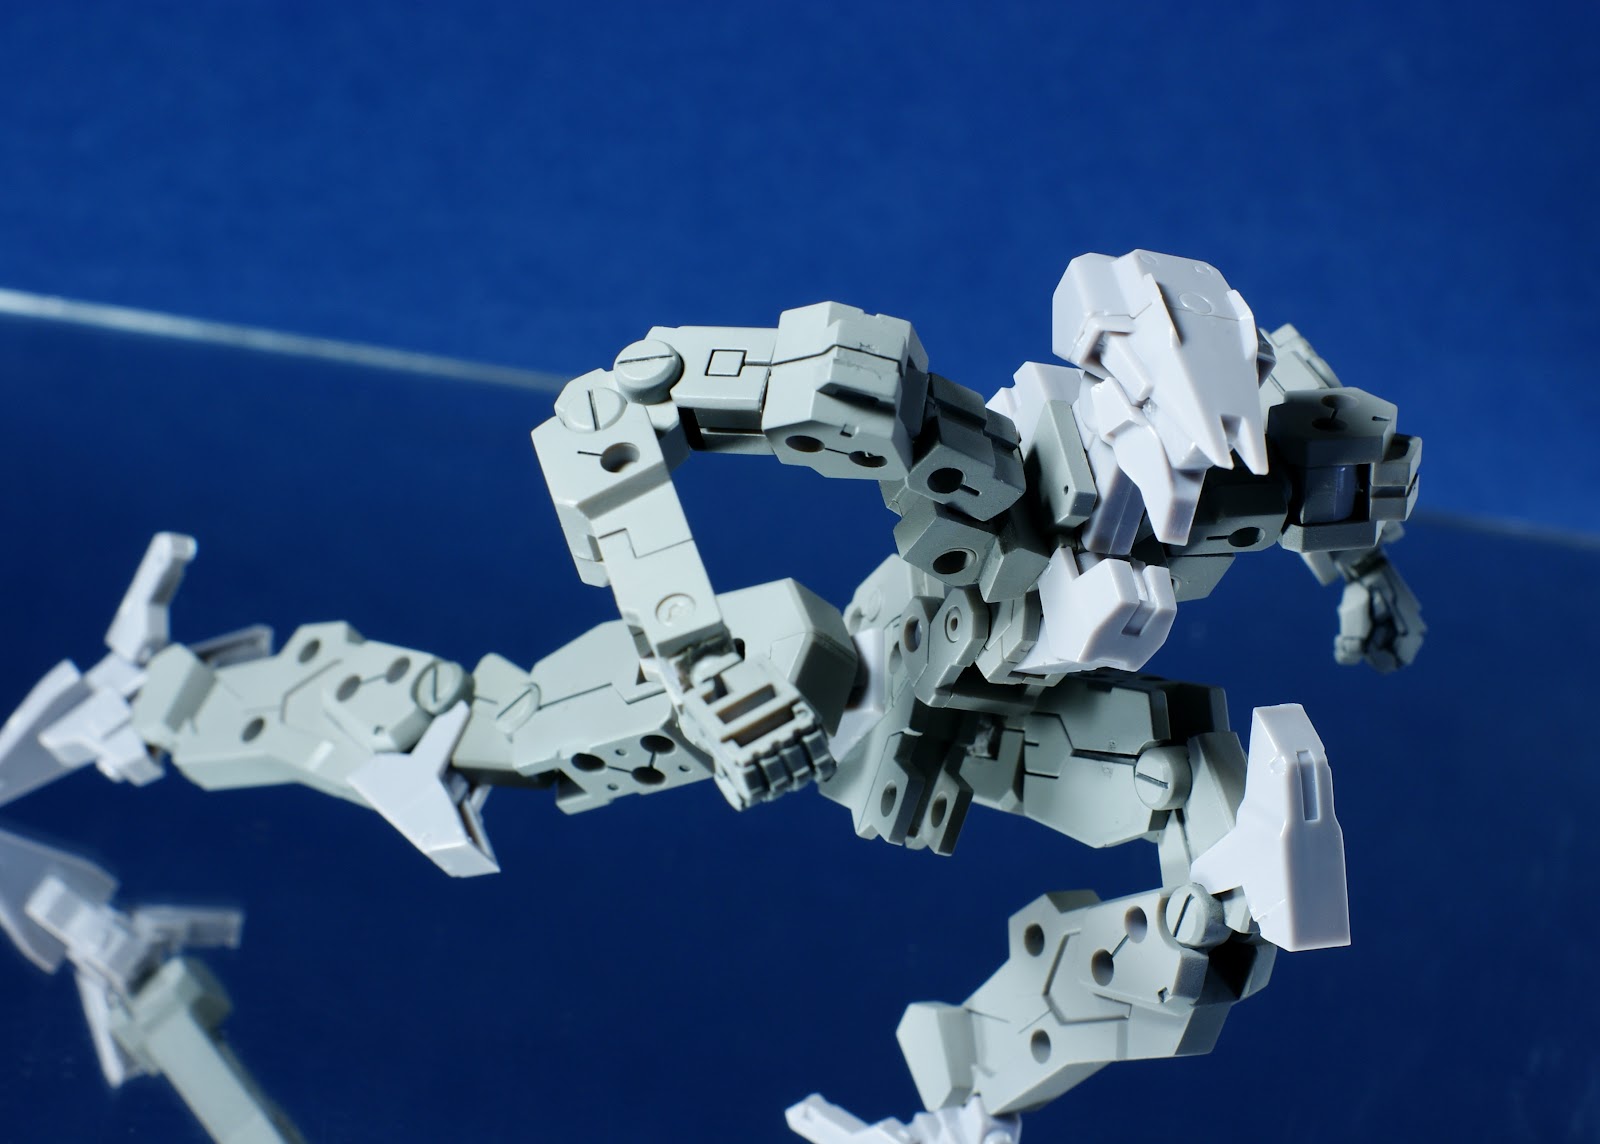

As there is no armors on it, the poseabilty is quite high. You can do lots of style and poses to it.
Those holes you see on the Frame are Hardpoints, and all of them are having the same diameter. Which means you can do whatever you want, such as attaching lots of weapons, or even custom-made armor for it.
*Roar! Let's get into the Main part!! (Henshin?! XD)

Front View *Dark version of the YSX-24 Baselard

Rear View

Full Armor? Front with ExtendArms 02

Able to form a big shield called "Blast Shield"


The "Blast Shield" is able to grip with its hand. With the new weapon, "Prototype Photon Blaster".


Of course, as mentioned, all the Hardpoints are having a diameter of 3mm. Which means I could attach the shields anywhere I like.


The new weapons

With all shields and stuffs equipped, it's now called "YSX-24RD/NE Zelfikar/NE".

Rear View


The "Prototype Photon Blaster" is able to change into [Shooting Mode].


Having a total of 20 Boosters!


Similar to Blitz Gundam, it is able to shoot out the claws.


Some reviews on Frame Arms Kit.
First, I don't know is it because it's made in China, the plastic quality is not as good as Bandai kits. The number of defects are more than Gunpla. Some runners are even having a thick layer of oil when I first open the box.
Second, product design lose to Bandai New Generation Gunpla. Example the shield, it is a full black part where I have to paint the white and purple parts by masking. Or should I say Bandai designers is getting superior? Anyway, this is just a matter of design. I could always mask the parts and paint those color on it.
Coming back, this is my first Frame Arms kit. I tried my best in all processes, sanding more for clearances and hope it will success this time. Unfortunately, the paints at the joints are still rubbing and wear off whenever I trying to bend the arms or legs.
Two possible causes, one will be the clearances is not enough for the paint layer, and the other one will be the layer of paints is still too thick.
I will do some tests on what's the minimum thickness the paint required and how much should I sand for the clearance.
Overall, Frame Arms is really a good series for collection. They have a high "playability", "poseabilty", and "customability". Just that there are quite a number of parts require tedious masking, which is the most tiring part...
~YSX-24RD/NE ゼルフィカール/NE~


